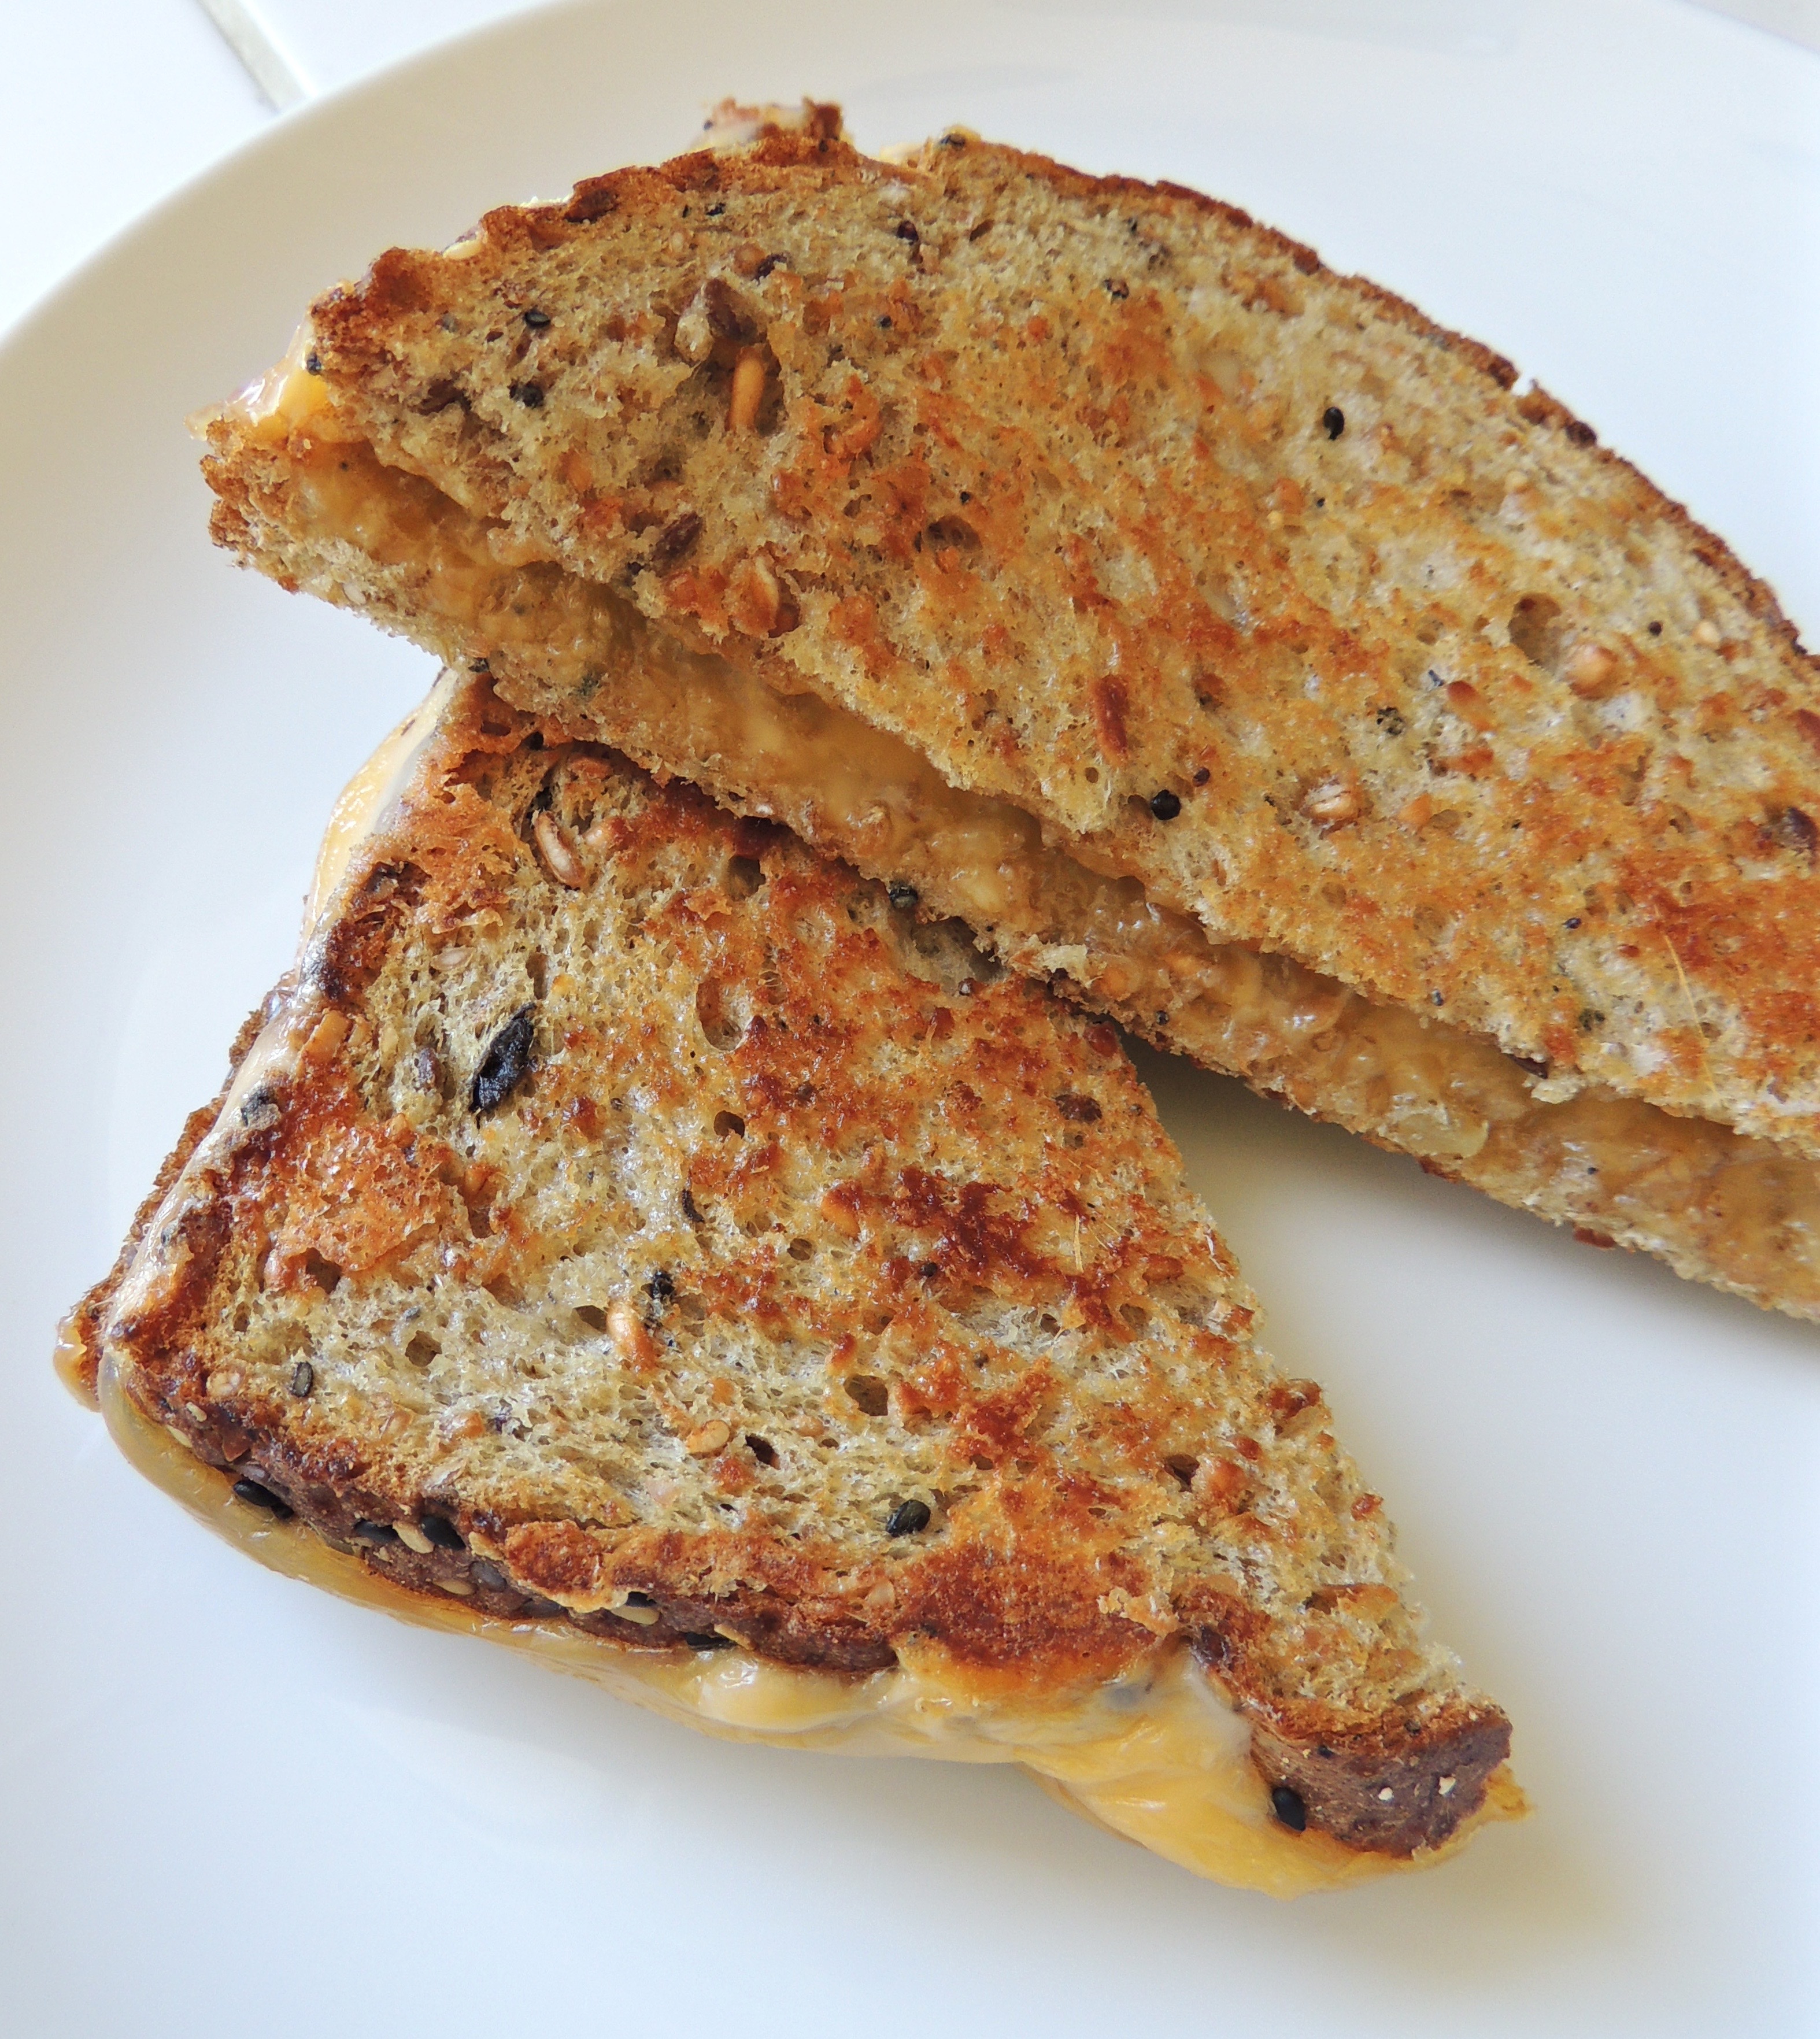
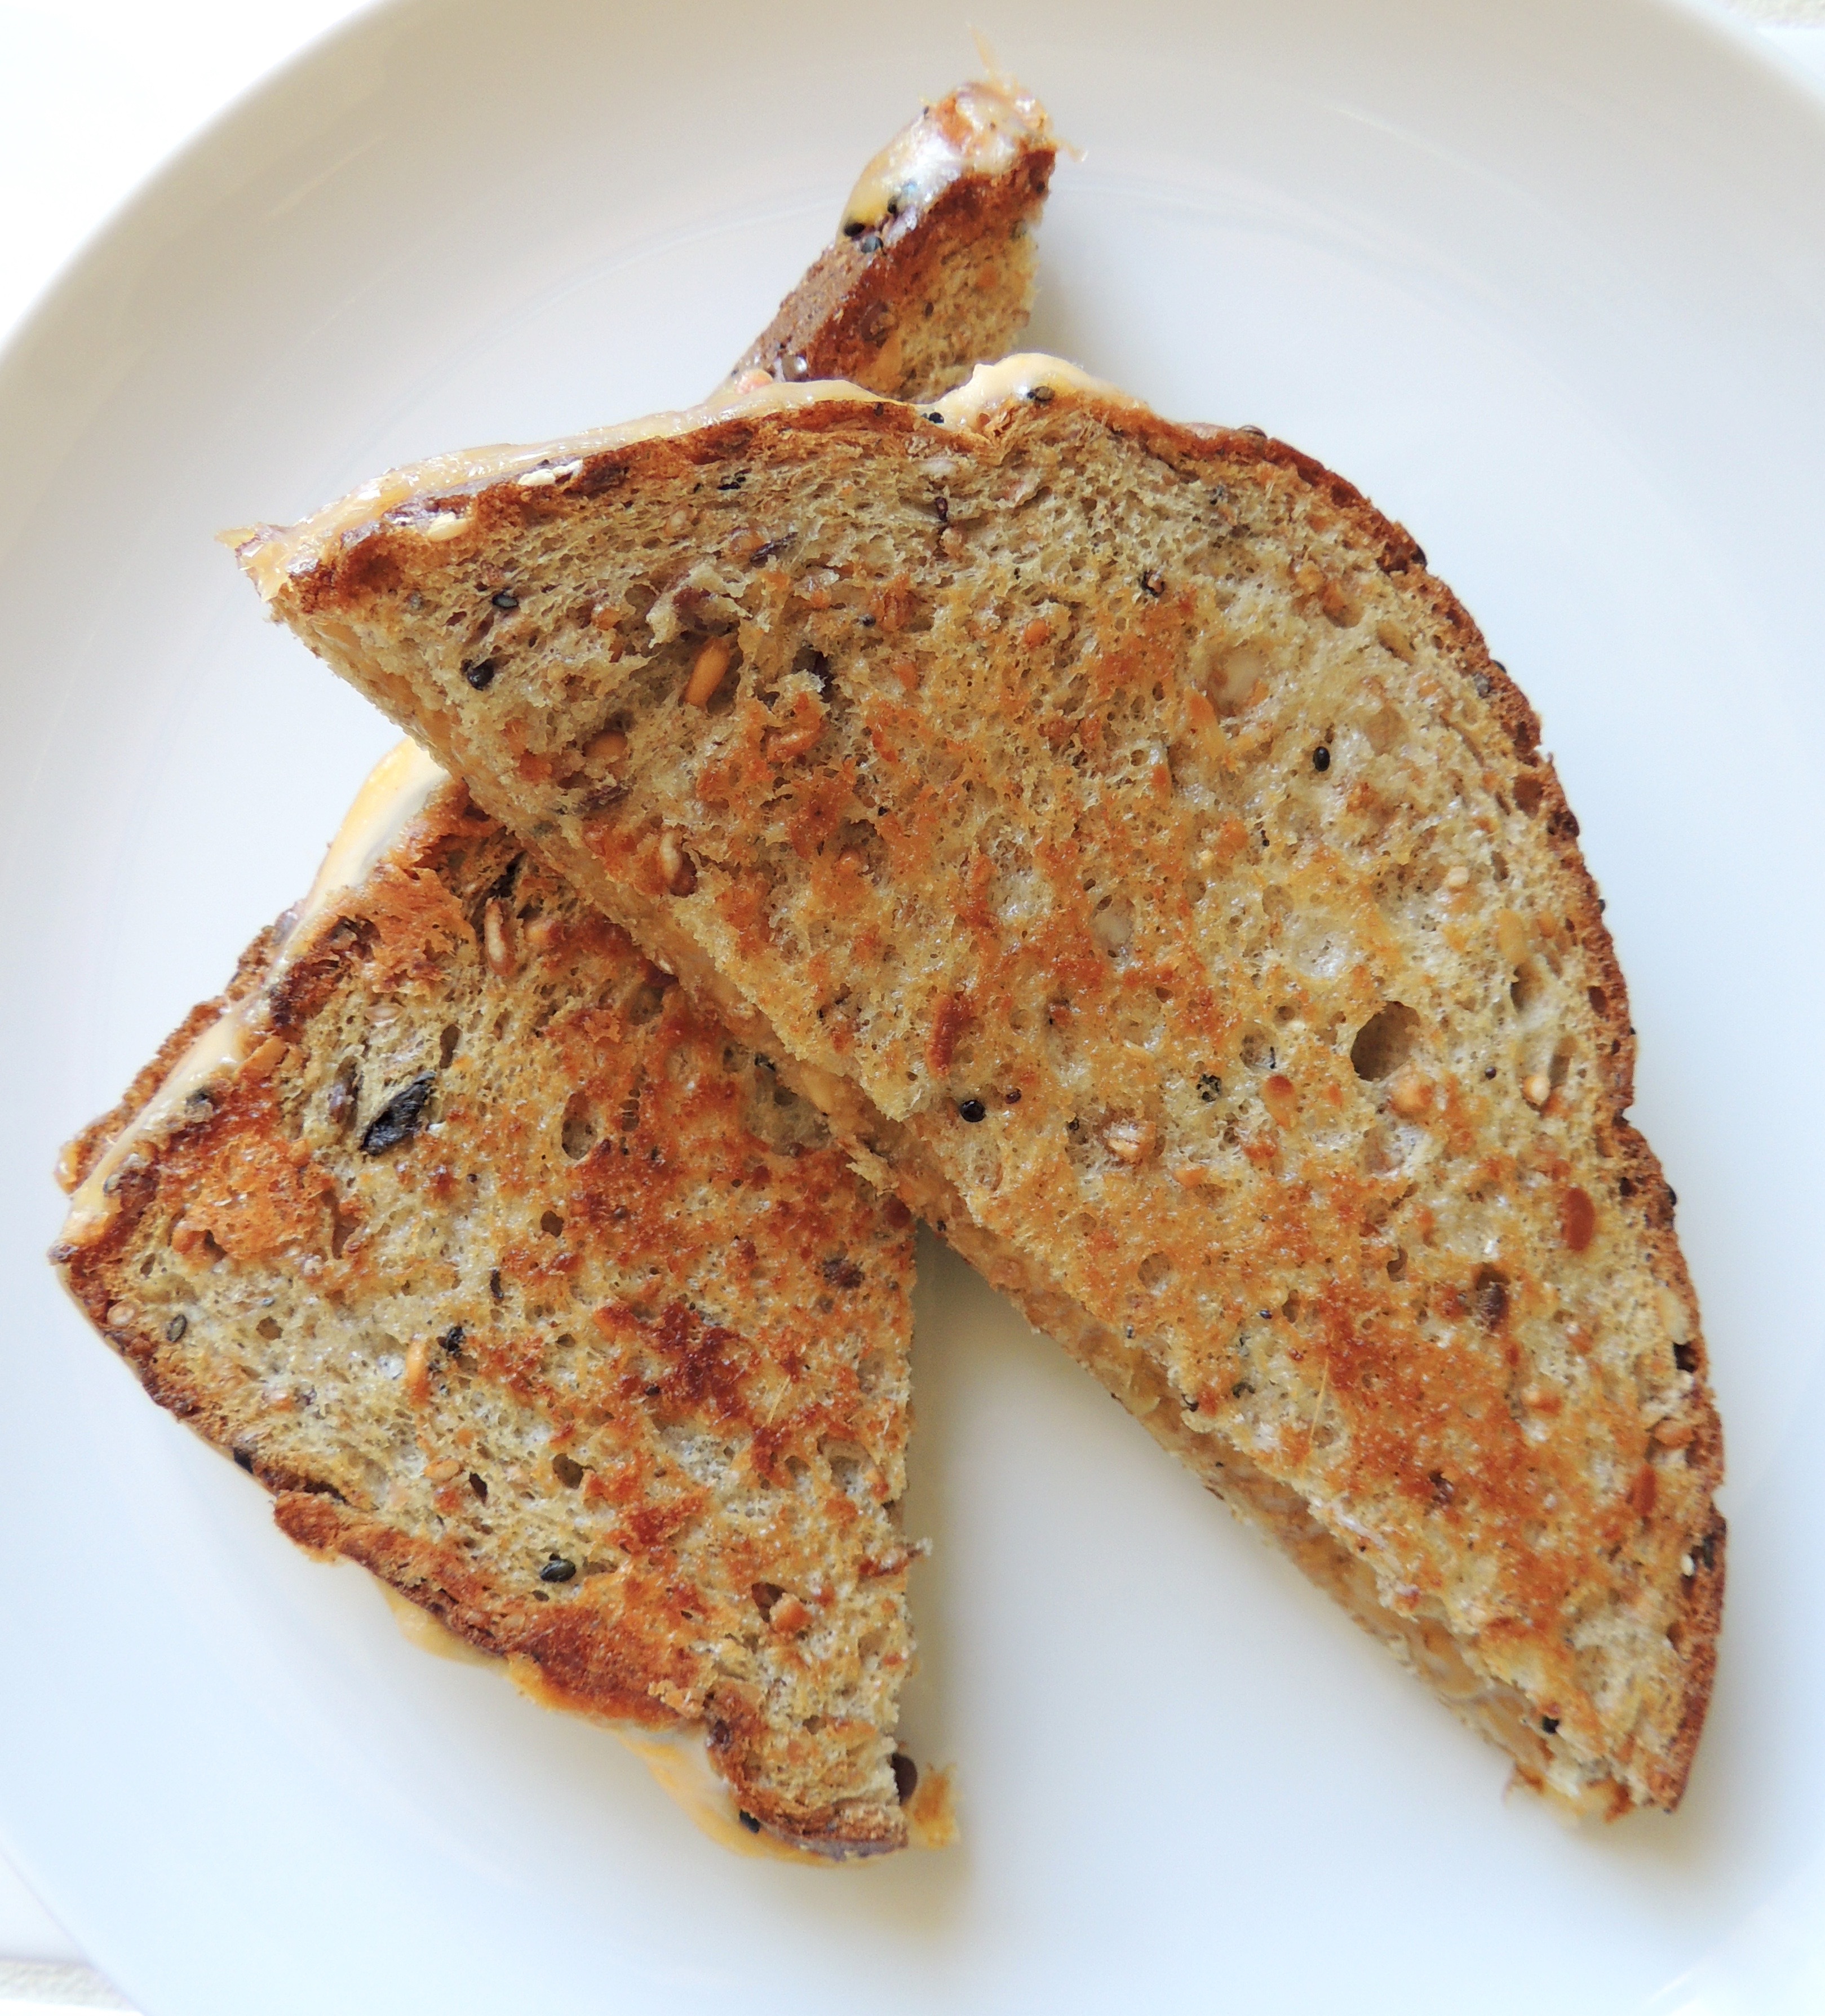
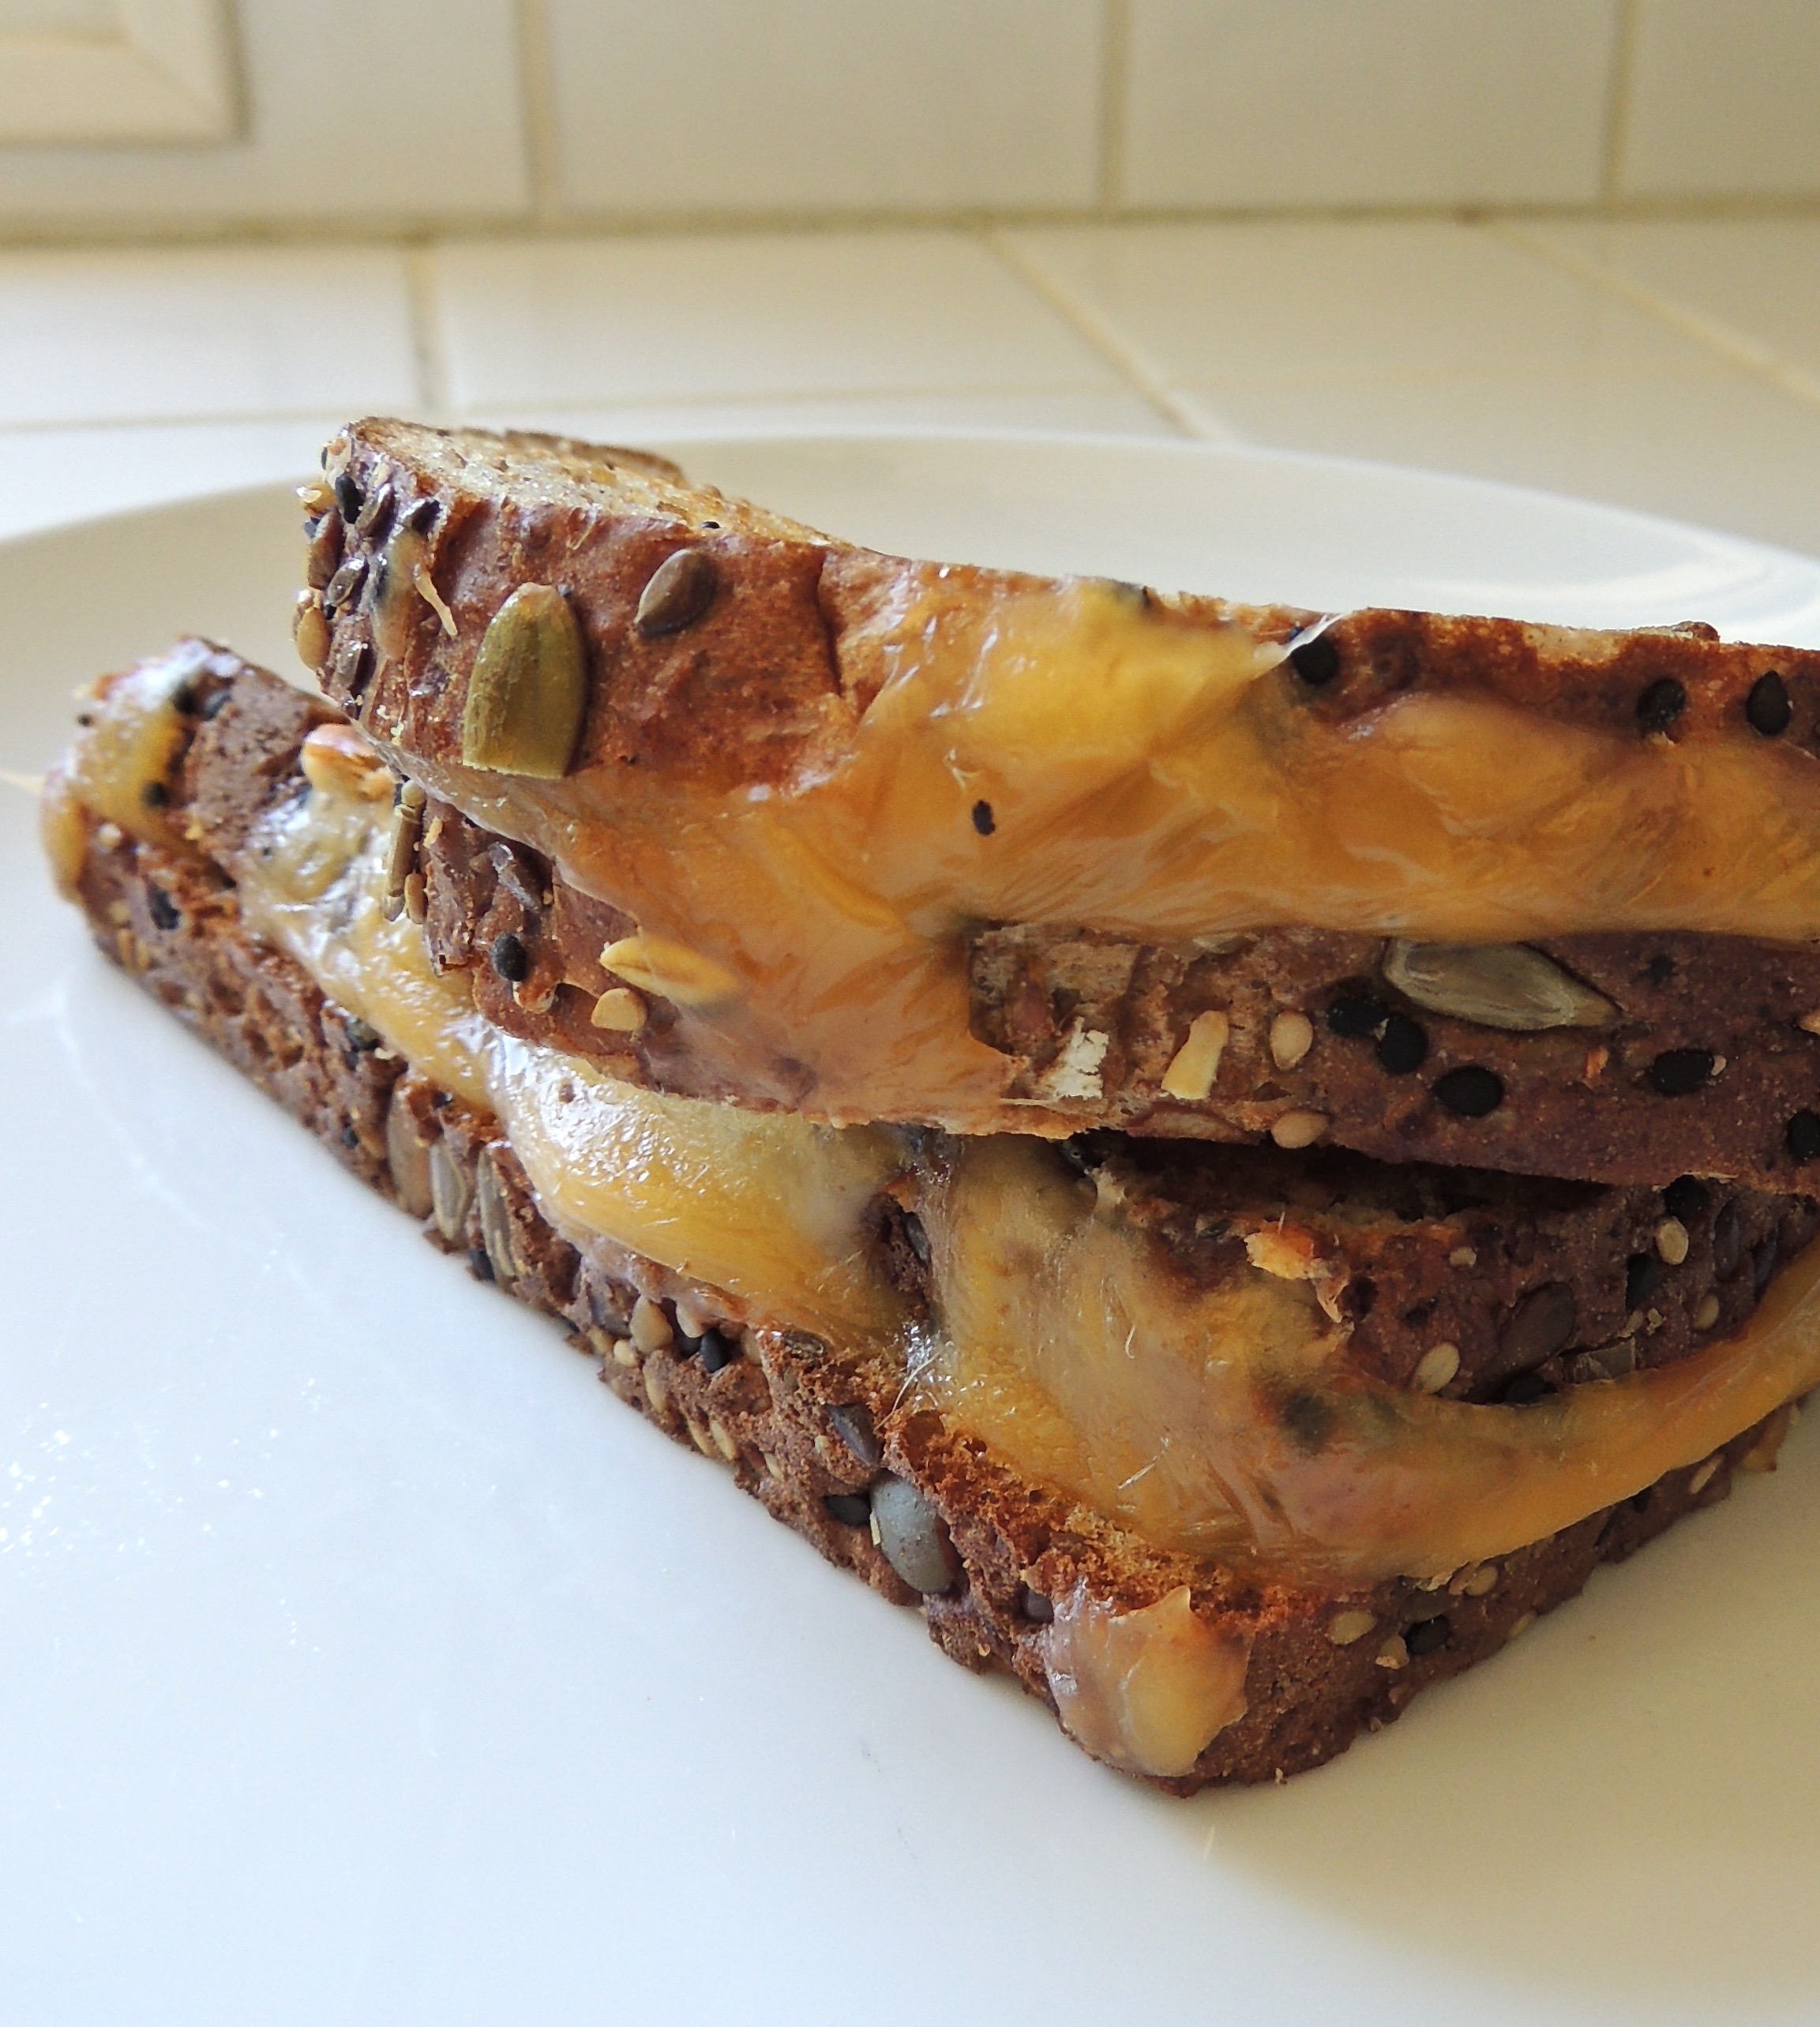

There’s something about biting into hot, toasty golden-brown whole grain bread then tasting that flavorful, molten sharp cheddar cheese as it oozes out onto your eager taste buds.
You hear the crunch of the bread.
You taste the savory goodness of the cheese.
You inhale that sandwich in .47 seconds then leap out of your chair like the ballerina your mother thought you’d be to grill up another.
Right off the bat you’re probably thinking I’m crazy for featuring a simple grilled cheese sandwich.
Believe it or not, whipping up the perfect grilled cheese does take a little bit of skill.
Okay, “skill” is probably not the best word here. Let’s go with finesse.
(Not much better, but you get the point.)
In order to grill a cheese sandwich like a boss, you’re going to need the best ingredients:
Two slices of fresh, whole grain sandwich bread. There best be seeds involved.
Enough sharp cheddar to cover one slice of bread, and then some. Tillamook is a favorite of mine. And no, medium cheddar is not going to cut it. (Don’t even think about using mild!)
Mild = cheese air with calories
Finally, some mayo is in order. Yes! Mayo. Vegan mayo in my case. Mayo is taking the place of butter because it doesn’t burn as quickly, so your cheese actually has a chance to melt before the bread turns black. Besides, the flavor cooks off if you’re the sort that gets all squeamish at the mere thought of mayo.
Now, let’s talk technique:
Heat a medium sized skillet over medium-low heat. Make sure your skillet has a lid.
Lid = easier time melting all that cheese.
And don’t turn the heat up, even if you are impatient like me, because you will burn your sandwich. There’s nothing more depressing than a blackened grilled cheese.
If your pan is nonstick you’re sandwich won’t get as crispy on the outside, so refrain from using one.
While your pan is getting nice and medium-low hot, evenly spread a thin layer of mayo on one side of both slices of bread. The mayo side is the side that’s going to hit the pan and get all nice and golden. You’ll need roughly 1/2 teaspoon. If you get all mayo-happy and go overboard, your sandwich will be a tad soggy.
Soggy = sandwich fail
Now, with a sharp knife slice up enough cheese to cover one slice of bread, with about 1/4 inch of cheese overhang. If this is too complicated for you, forget the overhang. But…
Cheese overhang = cheese melts and meets pan = crispy cheese = heaven
Your slices should be thick enough that you’ll actually taste cheese (kind of crucial), although slices that are too thick won’t melt properly.
Use your best judgement.
Now is the time to place the cheeseless slice of bread on top of the cheeseful slice of bread then carefully transfer your sandwich to the medium-low hot skillet.
Place the lid on, and wait a couple minutes before checking the underside of the sandwich for browning.
DO NOT LEAVE YOUR SANDWICH UNATTENDED. As in do not peel your eyeballs off that sandwich. It will burn. (I have experienced this tragedy 12 too many times.)
After about 4 minutes, your sandwich will be ready to flip. A metal spatula comes in handy here.
Flip that sucker, replace the lid, and let the sandwich cook for another 3 minutes or so.
Now it’s time to transfer this cheesy magnificence to a plate, slice at a diagonal and devour.
P.S. Your metal spatula will be your best friend when it comes time to scrape that crispy cheese off the pan. Bonus points if the cheese stays attached to the sandwich!
P.P.S. Layer some thinly sliced apple in with the cheese if you’re an overachiever.